
Nature-Stenciled Easter Eggs - A Tutorial
Nature-Stenciled Easter Eggs - A Tutorial
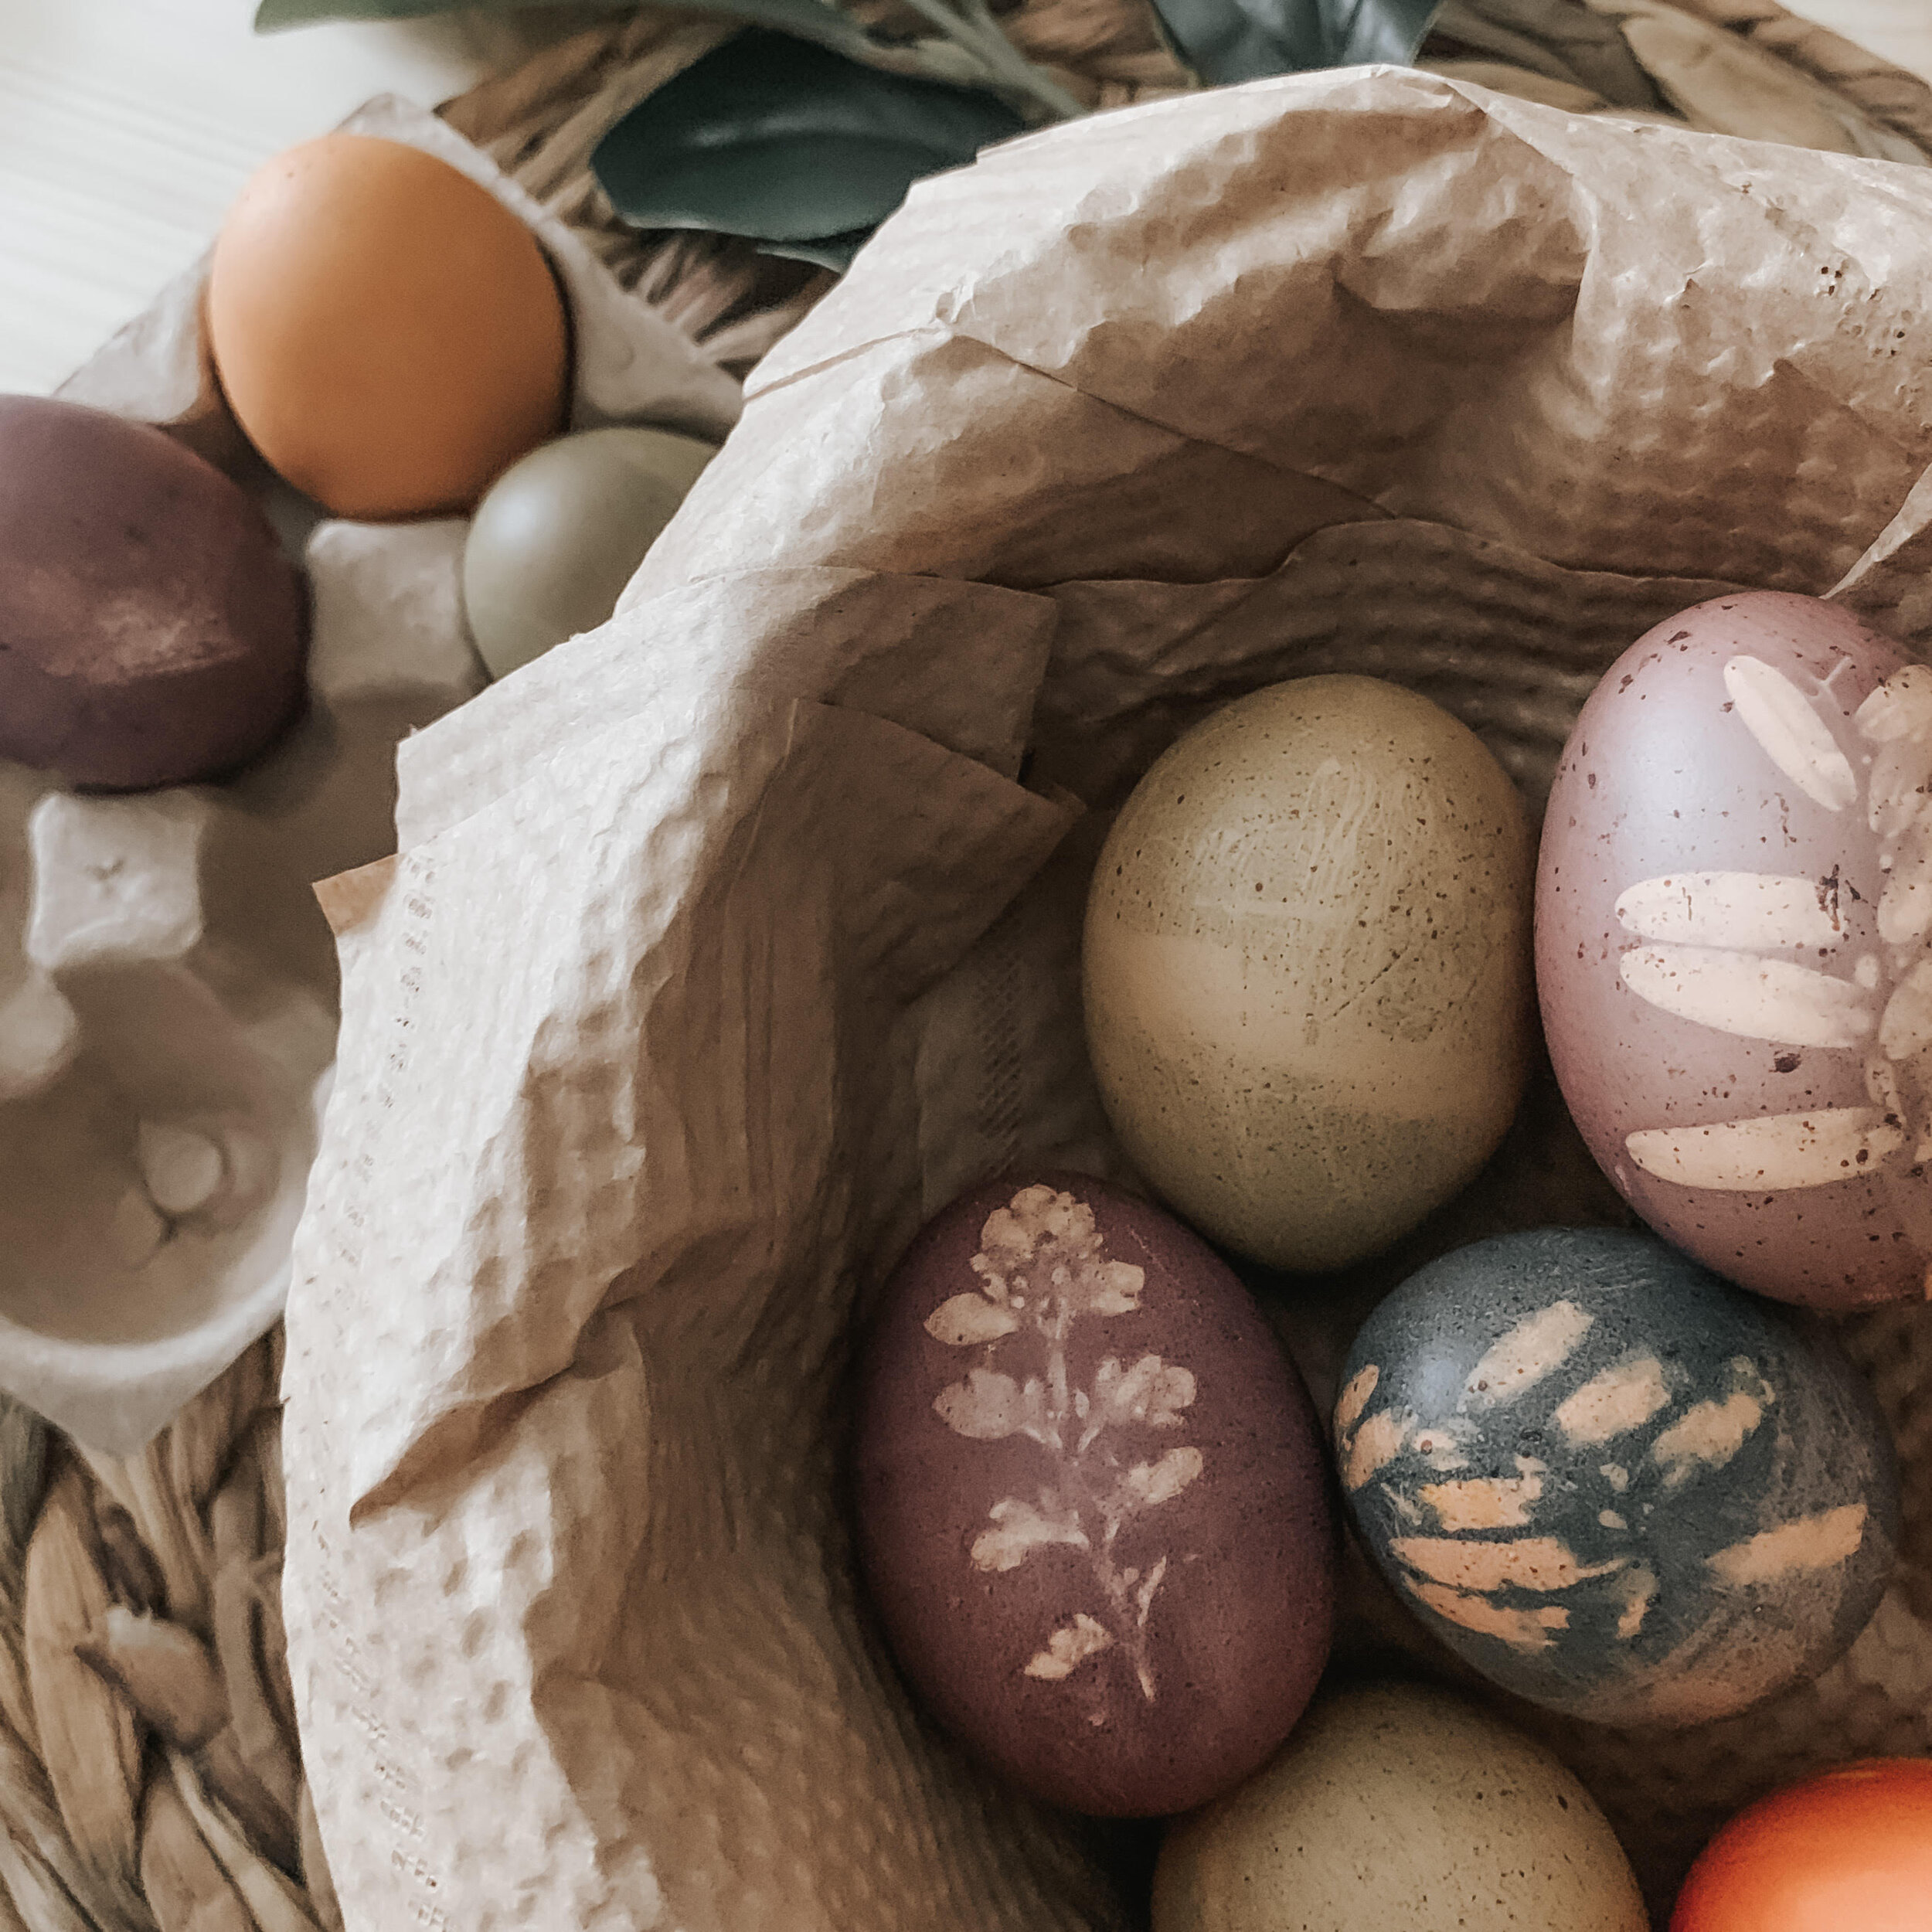
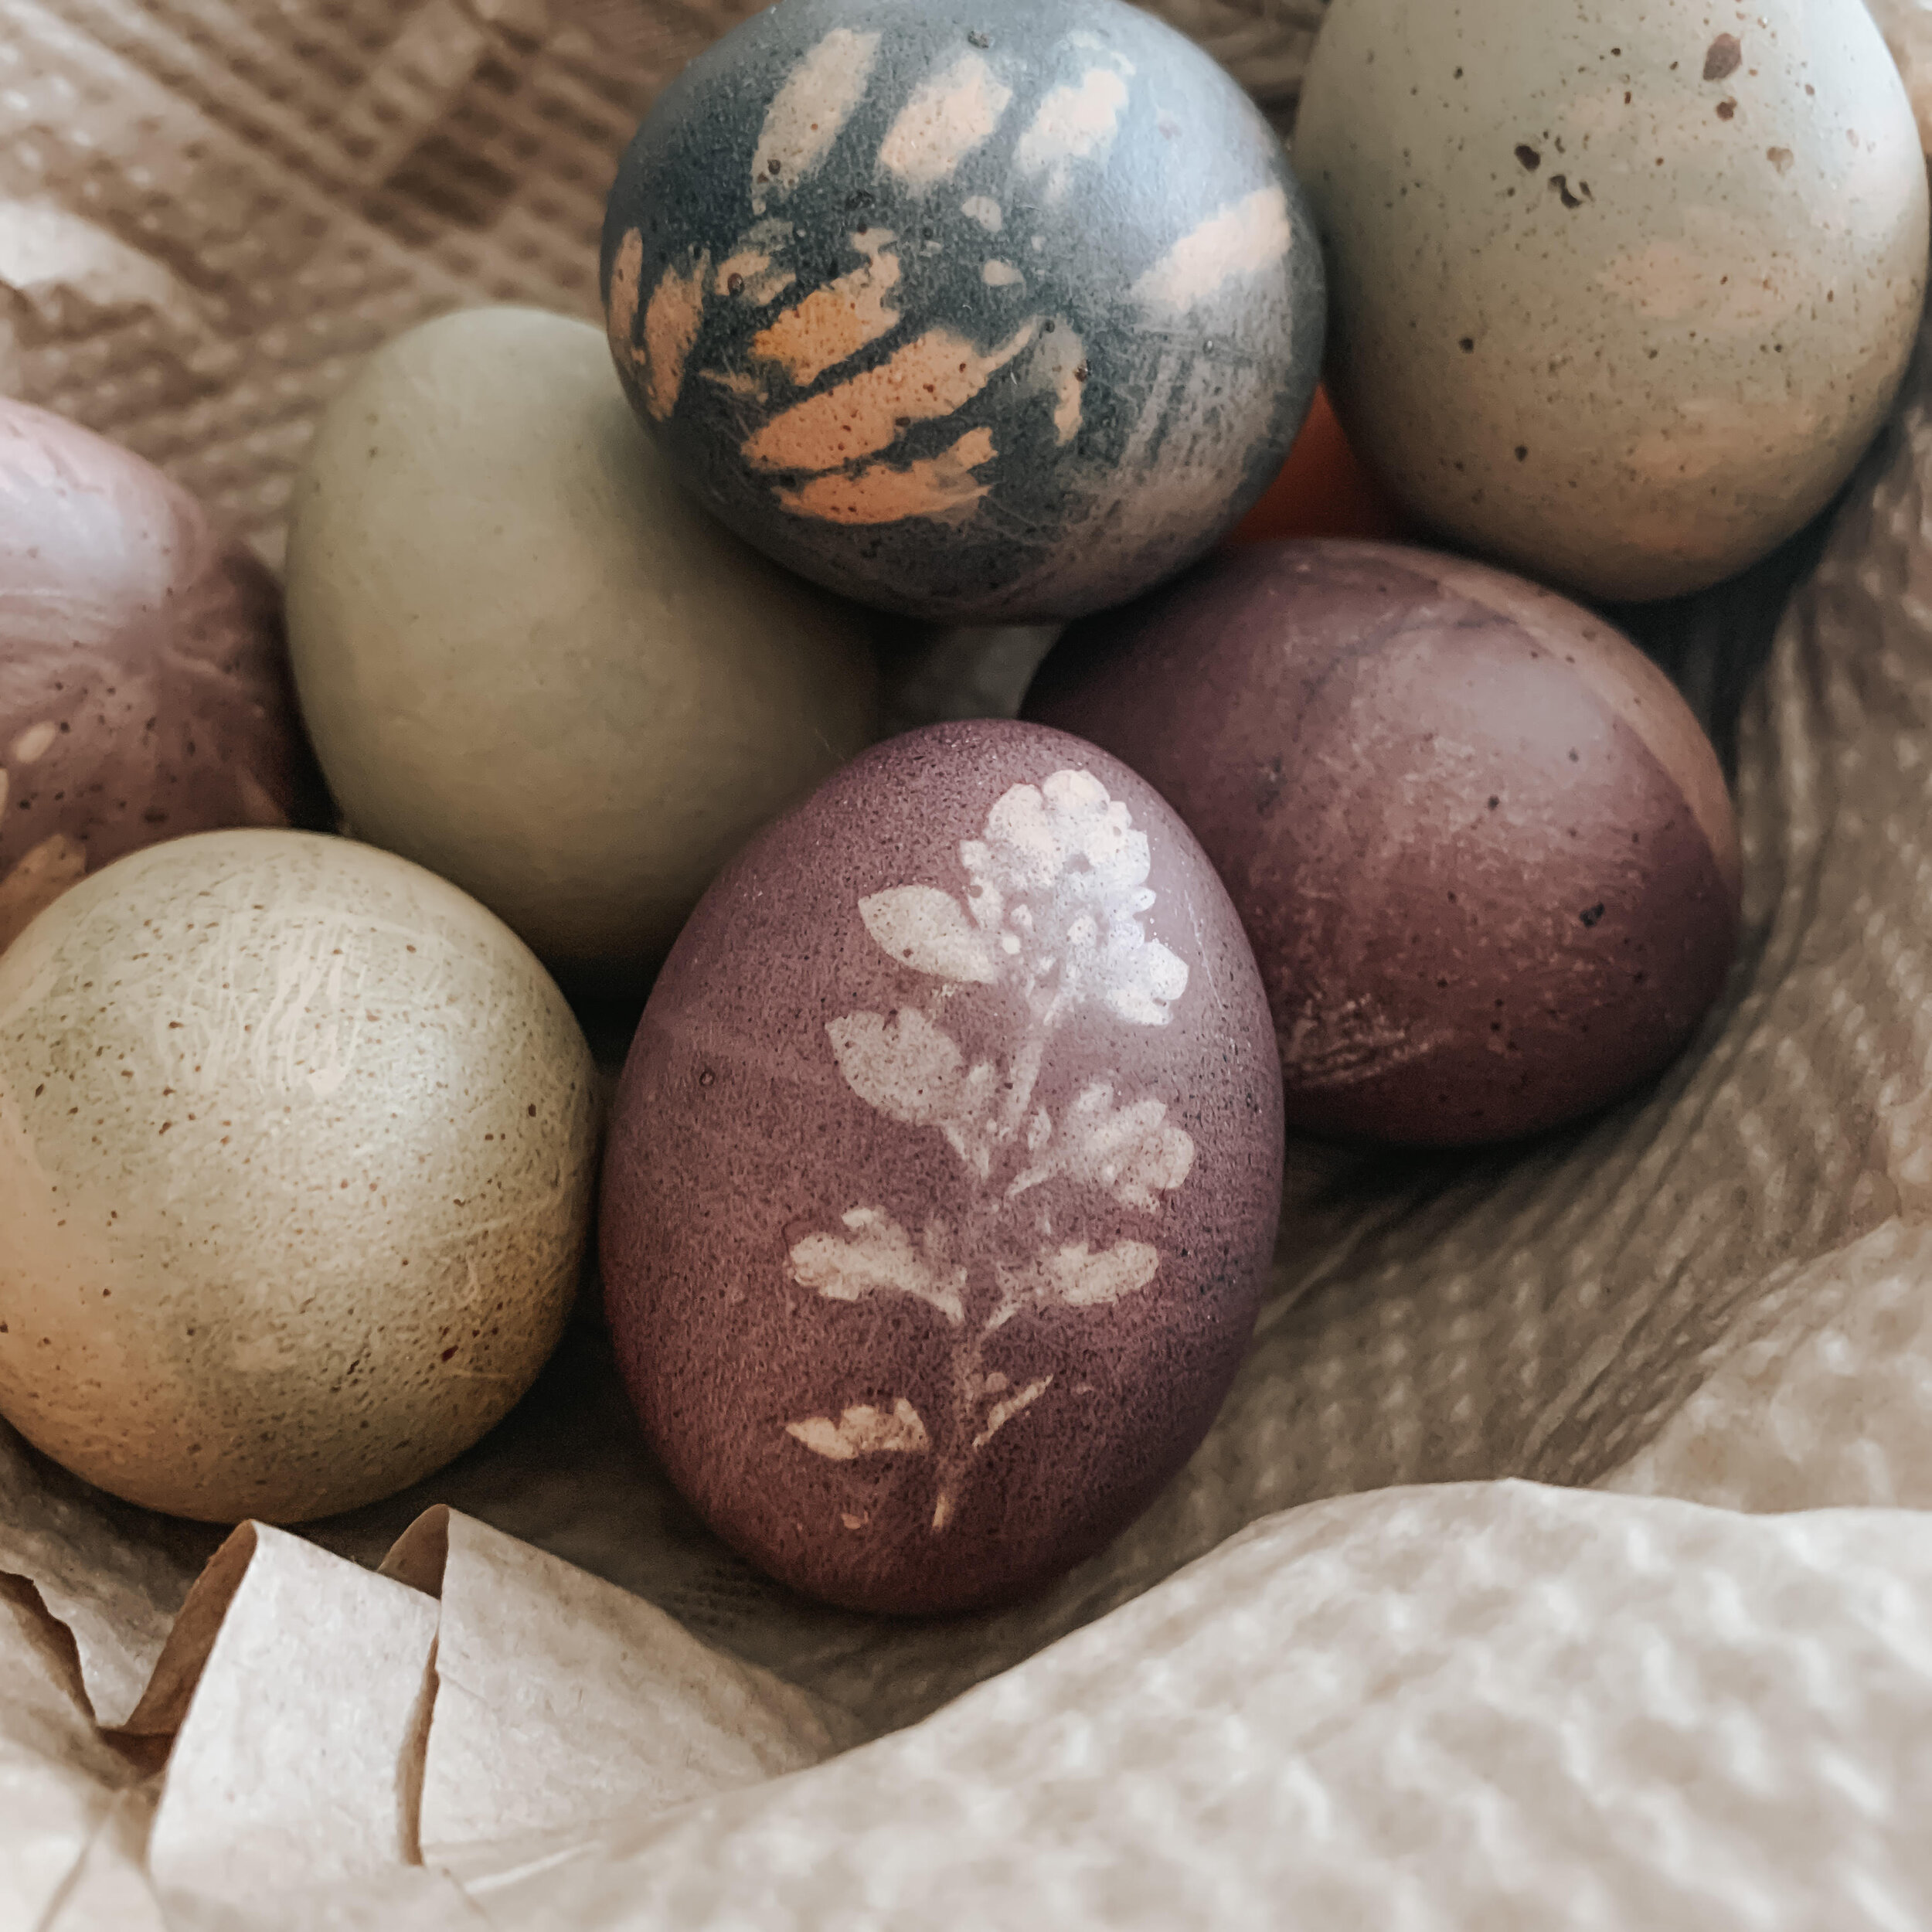
It’s Easter weekend this weekend and our team member Brittany here at Habitat Schoolhouse thought it would be fun to share how she made these absolutely stunning eggs with you.
Materials needed:
6-12 Eggs
Scissors
Flora
Glass Jars
Stocking
Different Coloured Dye (the dye used in this tutorial is from Natural Earth Paint. But if you want to make your own, mixing vinegar with food colouring will do the trick as well! )
Instructions:
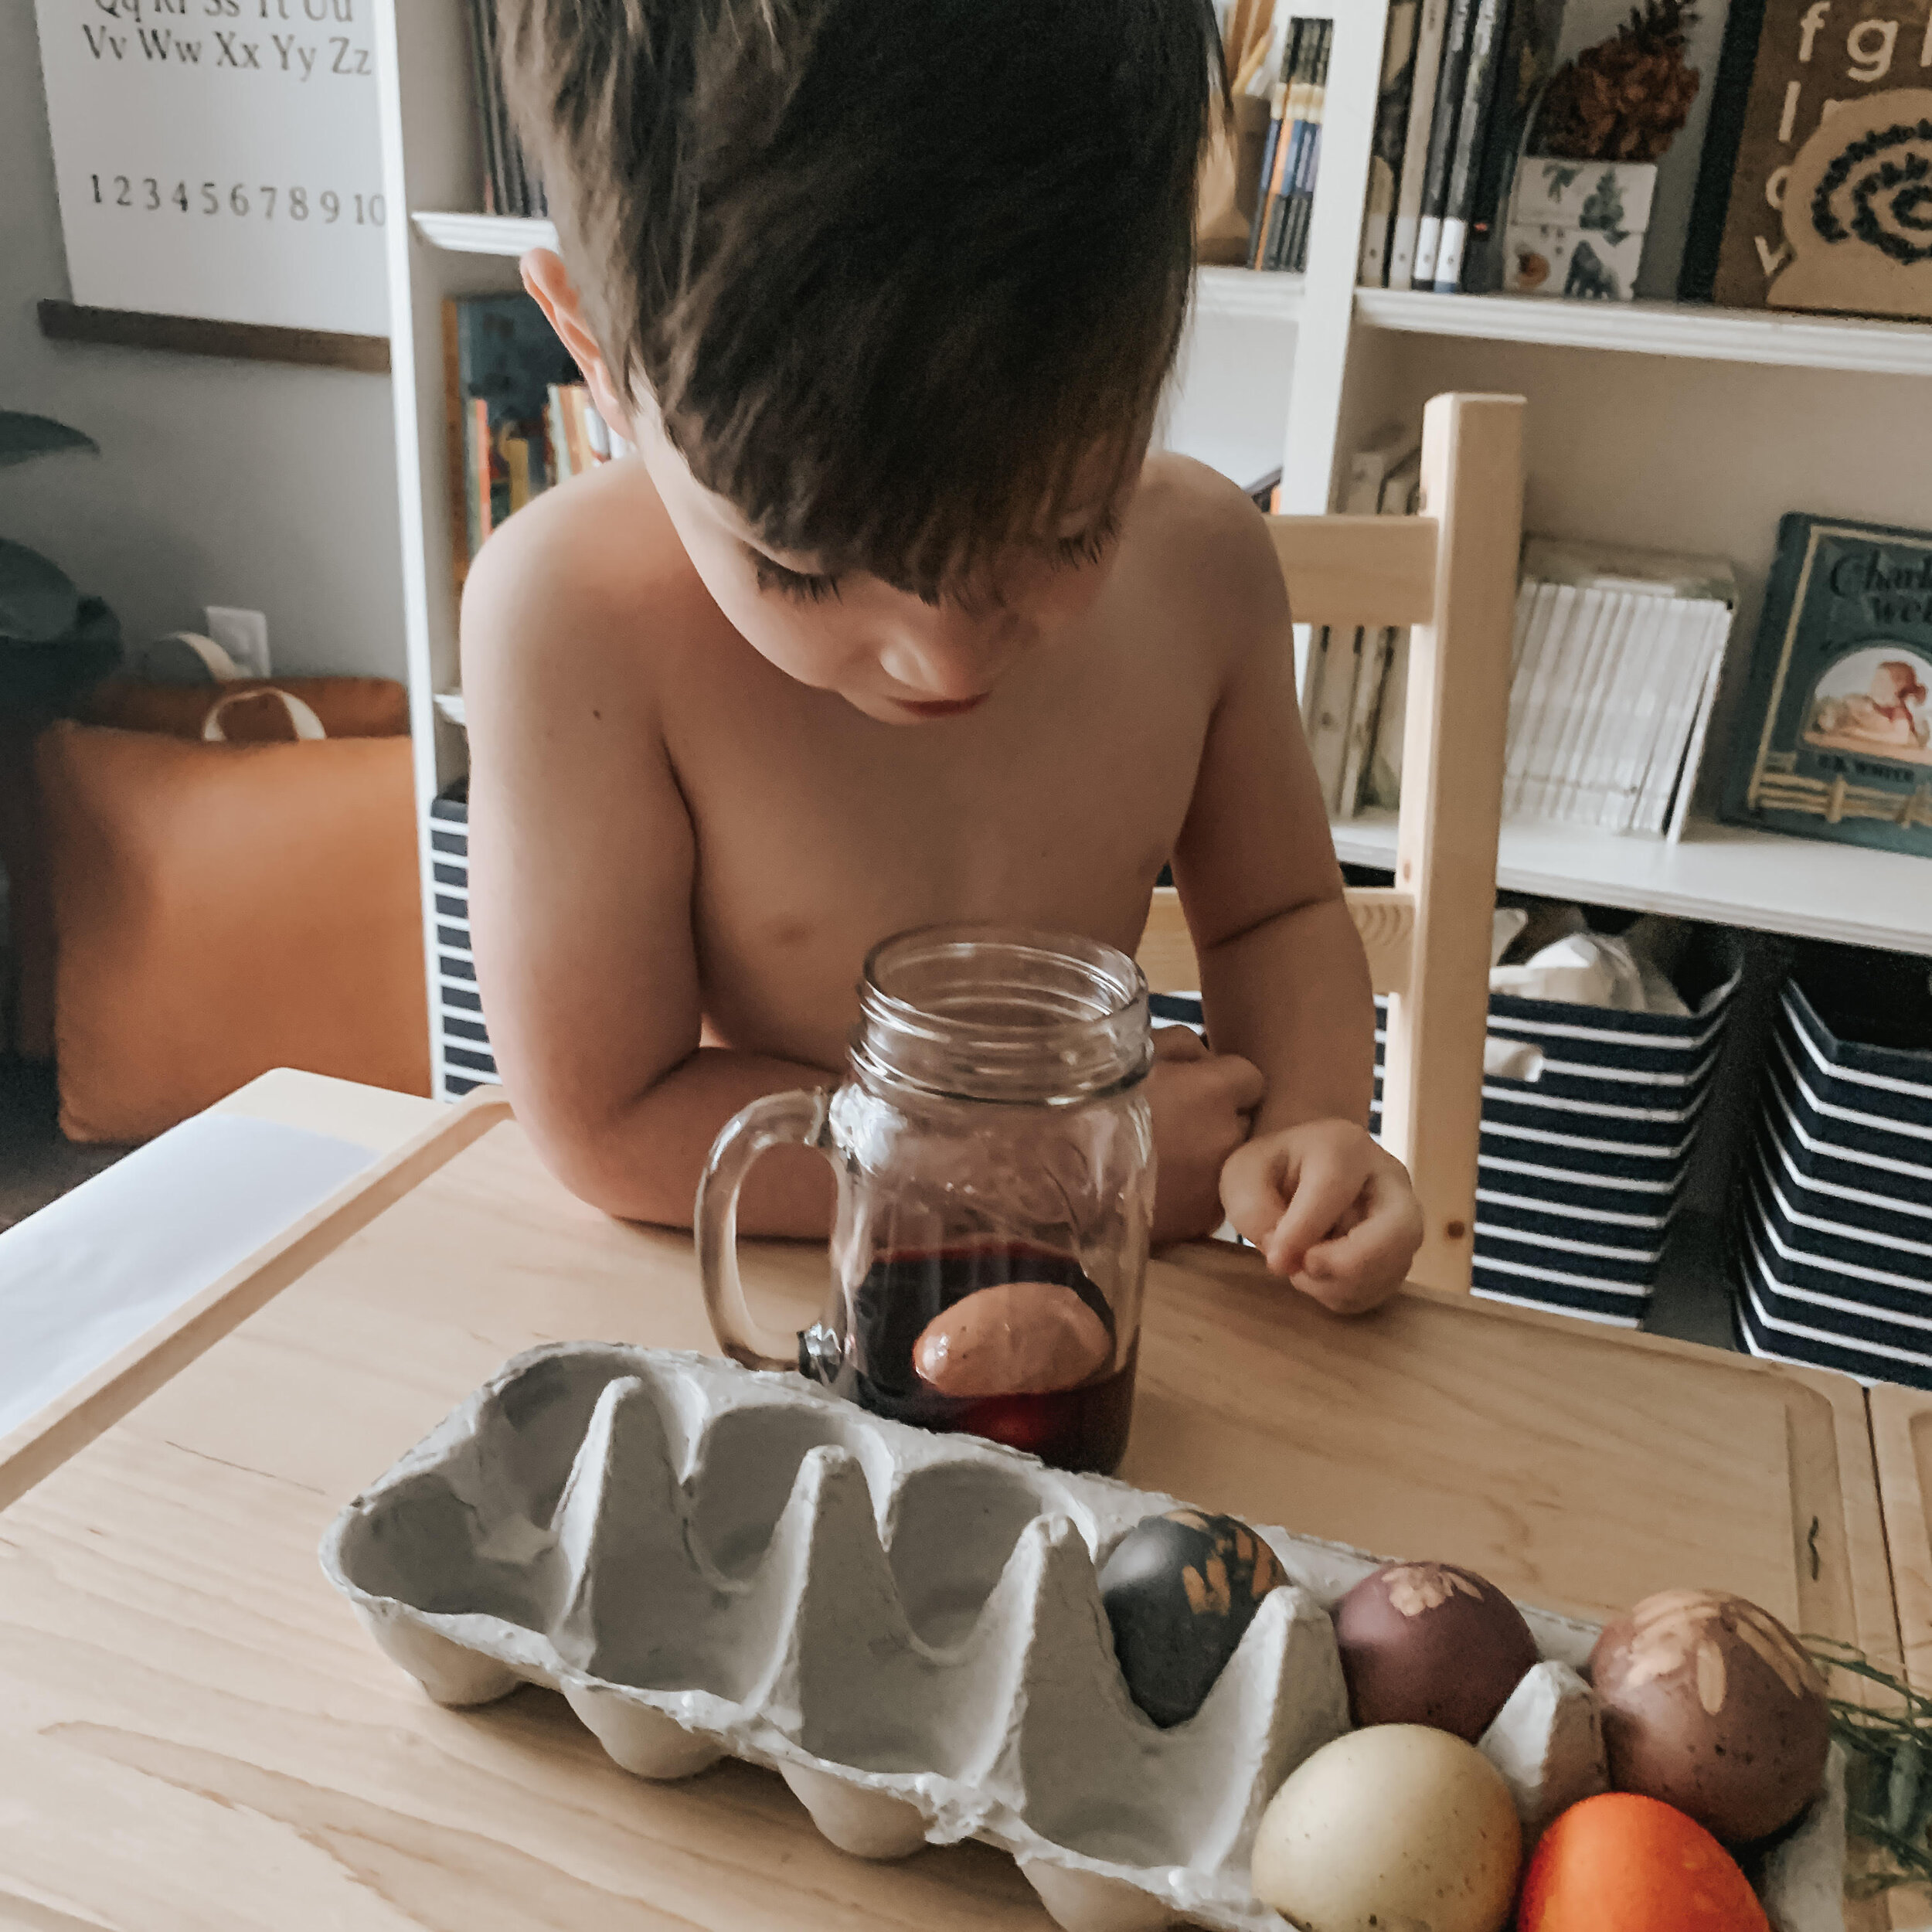
1. Boil eggs; we chose brown.

2. Cut strips of stockings, sized to hold eggs.

3. Press grass clipping or flora on the face of an egg.

4. Wrap eggs within stocking and tie securely.

5. Prepare natural dye as instructed. We used an already prepared kit. Dip to soak and set.

6 | Remove eggs from dye, stocking and allow to dry.

Happy Easter to you all!
I hope you enjoyed this little tutorial as we have many more to come. With the whole COVID-19 virus keeping us in our homes we’ve started a series called Stay Home Series where homeschooling moms from all over the world are sharing little crafts and fun tutorials just like this one. Our hope is that they can help give you a few more ideas on what to do with your little ones during this time as well as encourage you and let you know that we are right here alongside you and you can do it.